Today, there are many different services, online stores that offer a huge number of different products. A fairly popular safe today, invented in the 19th century, was created in England, and was intended to save jewelry. However, little has changed now.
To buy even the cheapest and not the most reliable safe will require a lot of costs, but to make a safe with your own hands, without spending a dime, is quite simple. It will take only a couple of cardboard boxes, a little ingenuity and free time. Such a safe, of course, will not save your valuables and money, but will serve as a decoration and surprise for guests.
In general, there are quite a few ways to make safes. It can be safes with a push-button digital code, a circular digital code. Based on the real model of the safe, you can easily make a replica of it.
In this article you will learn how to make a safe yourself, what materials will be required for this and what are the features of making a home-made safe. Let's get started!
We will make the simplest safe with a digital mechanism.
What materials and tools will be required to make a cardboard safe
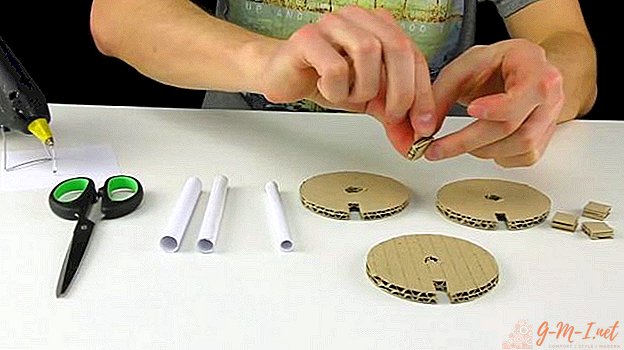
Let's start with the material. To make such a product, we need:
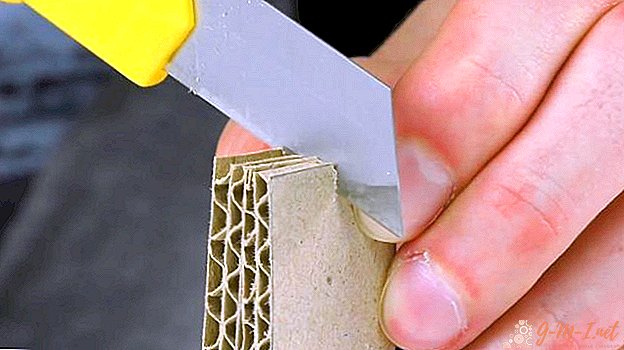
- Corrugated cardboard (for example, food boxes);
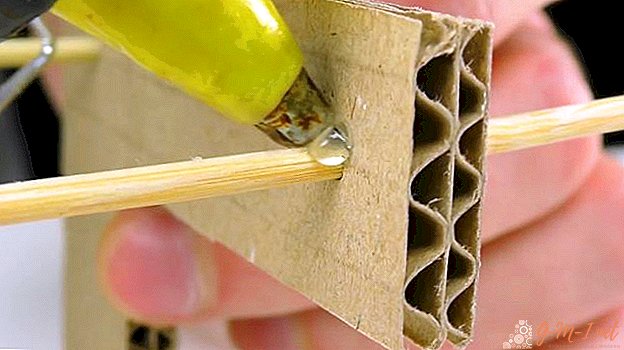
- Wooden skewers;
- Wooden sticks for ice cream,
- Compass,
- Ruler
- A-4 paper,
- 2 stationery knives (with wide and narrow blades),
- Scissors,
- Awl,
- Scotch,
- Hot melt adhesive.
Product manufacturing process
How to make a safe out of the box? To begin, draw a sheet of paper of “A-4” format crosswise and cut it along the outlined lines with the help of scissors.
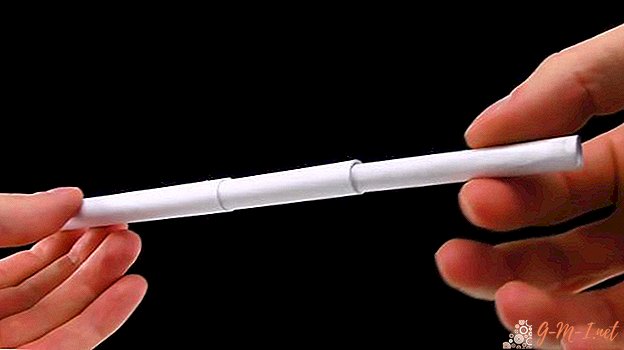
Now take a pencil and wrap one cut piece of paper around it, then fasten the resulting tube with tape and remove the pencil.
Take the next cut piece of paper and wrap it over the previous resulting tube.
Do the same with the third piece, wrap it around the second resulting tube.
So you get three tubes of the same length, but of different widths (reminiscent of a 19-20 century magnifying tube).
Next, take a piece of cardboard and compasses, and draw three identical circles with a diameter of 3 cm.
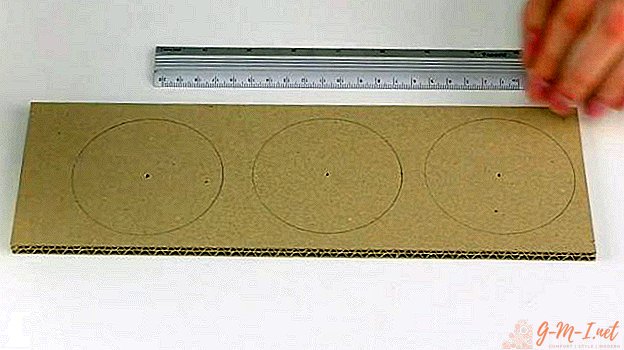
Cut the resulting circles with scissors or a clerical knife.
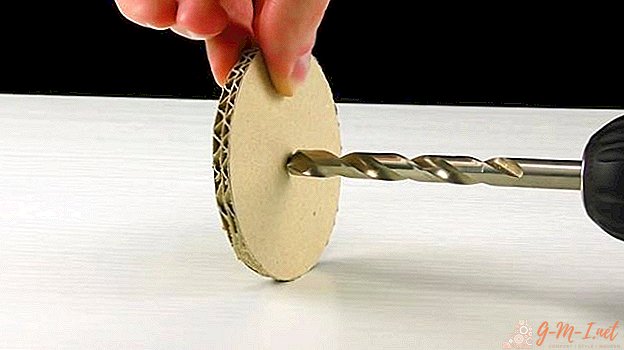
Take a drill with a diameter of 8 mm, then drill all three circles in the center.
Using an office knife, make an incision, as in the photo.
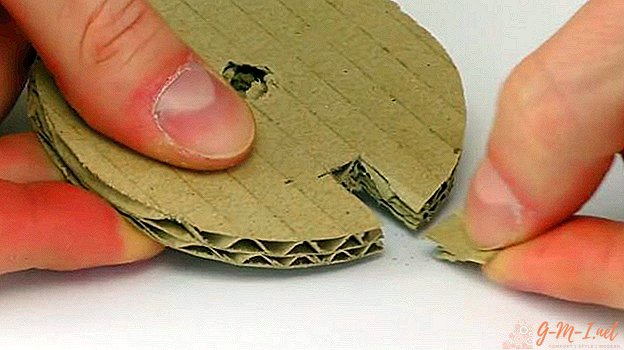
After the operation, small pieces of cardboard will remain. Take scissors or an office knife and cut four pieces of 1.5 by 1.5 cm, then glue them to the previously made circles (to one of the circles stick two pieces of squares from different sides).
Now take the widest tube made in advance, and cut off from it two even parts 2 cm long.

Next, insert them into the center hole of the previously made circles and fix with hot glue.
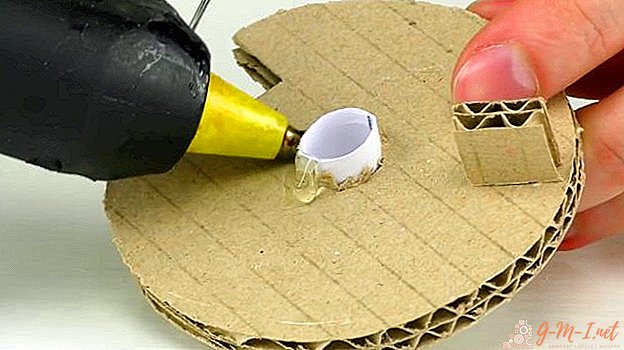
Insert the thinnest tube into the remaining cardboard circle and fix it with hot glue.

At one end of the thin tube we put the remaining tube of medium thickness, after which we put the remaining two circles with a thick tube in the center onto the middle tube. The result should be as shown in the photo.
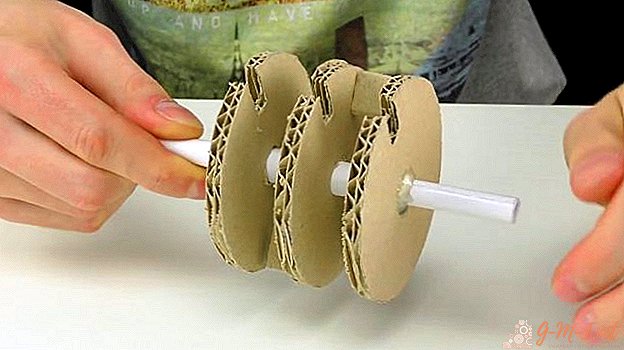
The main thing is that all the squares on the circles are rotated to the inside of the mechanism.
Now you need to cut two identical parts with a length of 10 cm on both sides.
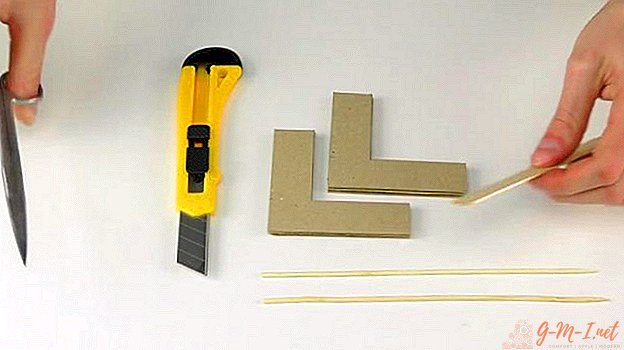
After that, take a wooden stick of ice cream and cut off the round ends.
Fold the prefabricated parts together, then cut them evenly with a knife.
Spread the prepared parts to the length of the cut ice cream stick and insert the stick itself into the incisions.
Next, take two skewers of wood and insert them, as seen in the photo.
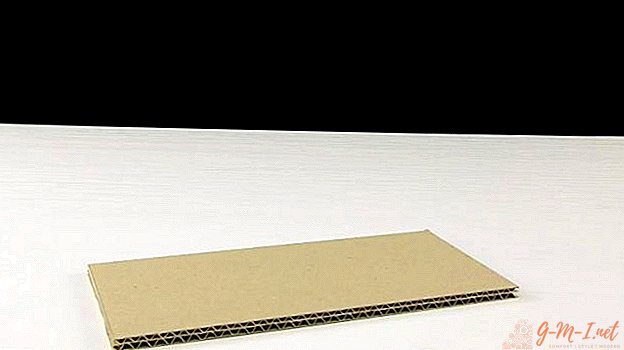
Take a sheet of cardboard and cut a part from it 30 cm long and 15 cm wide.
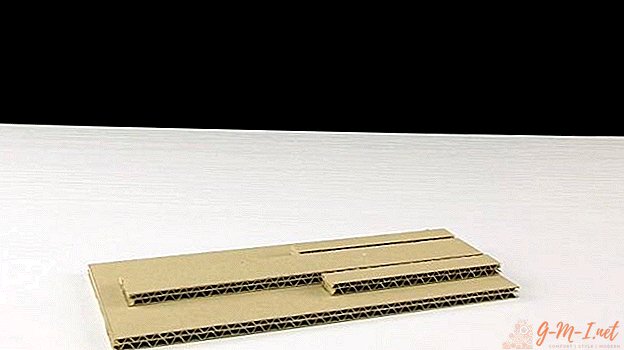
Cut two parts 12 cm long and 2 cm wide and fix them on the sides of a large part, but so that 2 cm are left from the edges.
Then make another piece 28 cm long and 7 cm wide and glue it in the center between the side strips.
Make a part 23 cm long and 7 cm wide and fix in the center on the previously attached strip.
Cut three rectangles 7 cm long and 4 cm wide and attach them as shown in the photo.
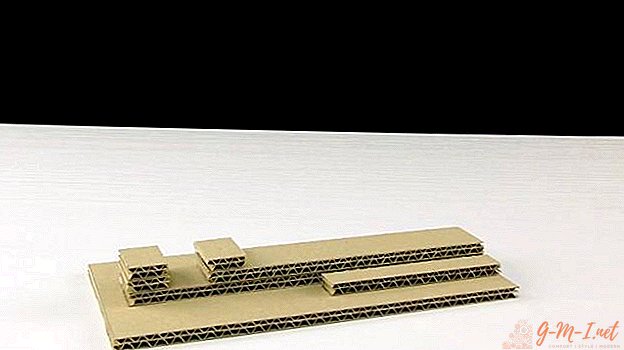
Prepare two parts 7 cm long and 2 cm wide and glue as in the photo.
We make another rectangular piece of cardboard with a length of 30 cm and a width of 25 cm and fasten, as in the photo.
Drill two identical holes as seen in the photo.
Insert the previously prepared mechanism into the large hole.
Insert the end of the skewer of the corner piece into the shallow hole.
Cut the same second rectangle and do the same as with the previous one.
Prepare two side rectangles and close the mechanism on the sides.
Using a compass, draw a small circle, then cut it out and use a marker or pencil to draw the markup in the form of numbers.
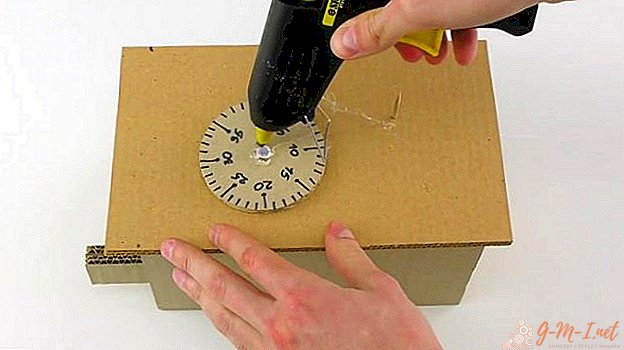
Apply hot-melt glue to the front side of the mechanism, after which, having previously cut the part with sides 30 x 25 cm and having cut two holes for the tube and skewer, fix it.
Fix the circle with digital marking on a thin tube using hot-melt adhesive.
Then take a piece of cardboard and cut out a part in the form of a handle for your safe from it (the part can be any).
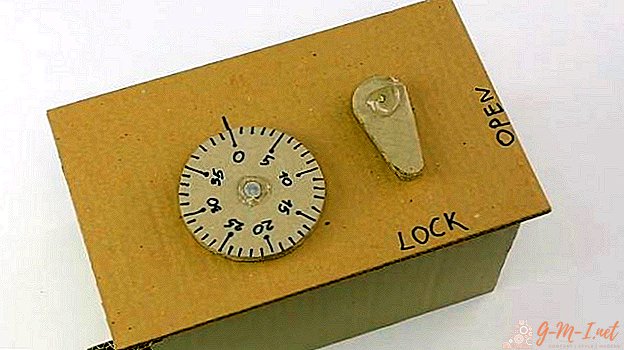
Now make the markings on your safe as shown in the photo.
A DIY cardboard box requires a code. To do this, twist the circle with the marking counterclockwise until one of the cutouts on the three circles in the mechanism matches the wooden skewer.
Now write the number obtained as a result of the intersection with the markup on the circle.
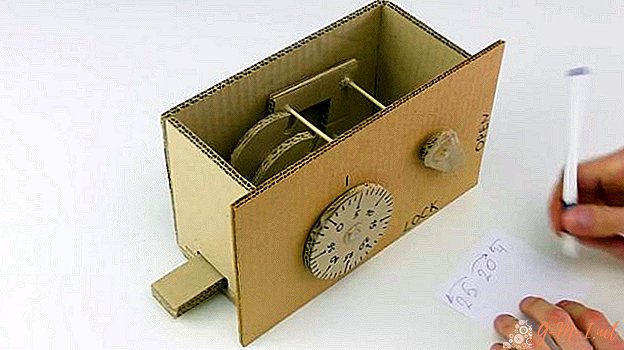
Do the same with the rest of the circles, rotating them in opposite directions and rewriting the numbers when matching the cutouts.
Once you have rewritten all three numbers, this will be your password to the safe.
Now proceed to the frame. Make a box of arbitrary shape, then insert our mechanism into it, as seen in the photo.
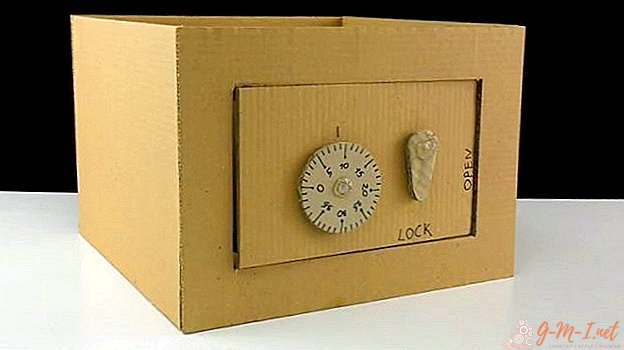
Happened! Homemade safe from corrugated cardboard is ready! To check its functionality, close the door and turn the knob to the "LOCK" position. The safe is closed. Now turn the circle with the markup to position "0" and rotate it in opposite directions, entering the code. Turn the knob to the "OPEN" position and the safe is open!
It remains only to put there a few notes from the joke bank and give it to your children. It will not be possible to open the safe without a code without deforming the structure. Such a safe looks rather unusual and will serve as a vivid proof of how a real safe works.
How to make a safe out of paper? If you like this homemade product, you can perform exactly the same model, but from paper, wood or even metal.
Leave Your Comment